Tag : baader-solar-filter

How To Make a Digital Camera Solar Filter

After buying my A4 sheet of Baader solar filter paper I have been making all sorts of filters.

The last of which has been a solar filter for my Canon 450D digital SLR camera, but my method of construction will work for any SLR camera, as its really simple.

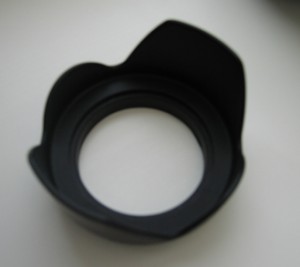
I started with a flower shaped lens hood. I bought the lens hood a while back cheaply from someone in China on eBay, I think it only cost a few pounds.

DSLR Flower Shaped Lens Hood

I then cut out two circular pieces of cardboard to put either side of the circular solar filter paper. I cut them to fit just inside the lens hood. I then cut out the circular solar paper.

Cutting the solar paper can be a pain, it is best to cut the filter paper between two other sheets of paper and then remember that there is a really thin piece of transparent film on the solar paper which needs to be removed once the shape has been cut out.

I previously used scissors to cut out the solar paper, but for this attempt I used a very sharp scalpel.

I then placed squares of double sided sellotape around the cardboard circles, in order to hold the cardboard onto the solar paper, be careful not to get fingerprints on the solar paper.

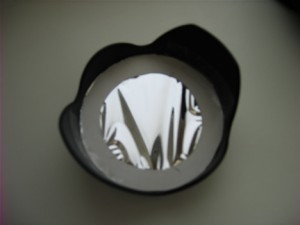
Then place the filter into the lens hood and I just used standard sellotape to tape the cardboard part of the filter to the plastic sides of the lens hood.

Homemade SLR Digital Camera Solar Filter

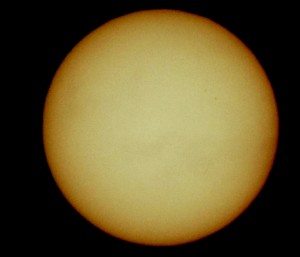
I then screwed on my new solar filter and took an image, usually I would take video of the sun with a CCD camera and then stack the results to get a final image. This time I took the sun image below with my DSLR at a setting of 1/4000th second at ISO100 with my 300mm lens.

I then played about a little with the brightness and contrast and colour levels with a photo editor program.

Sun with homemade solar filter on a DSLR camera

You can just make out two sunspots (1080) on the top right handside.

Solar Sunspots and Granulation

I managed to do a bit of imaging today as the Sun was out all day. I went and purchased a sheet of A4 Baader Solar Filter paper from Green Witch the other day, they were the cheapest place I could find, plus I got my SPA discount as well. It also gave me my first chance to visit them in Dry Drayton.

Anyway, I produced a couple of solar filters for my LX200 and my ED80 Pro from the paper sheet so was dying to try them out (which was a nightmare trying to cut, as I couldn’t stop my fingers leaving fingerprints on the paper, plus you need to remember to remove a really thin piece of plastic that is attached to the filter paper).

Both worked really well, I have also just purchased a 2nd hand DMK21 camera, which is so much better than my SPC900 webcam, which I about to sell. So imaging with this was fun as the more practice I get on the DMK21 the better. I also used my Baader Solar Continuum filter which I have had for ages but never really got to use as I did not think that the SPC900 gave enough brightness of the object to use a dark green filter, but the DMK21 handles it with ease as you have a lot more control over your gain, exposure and gamma settings.

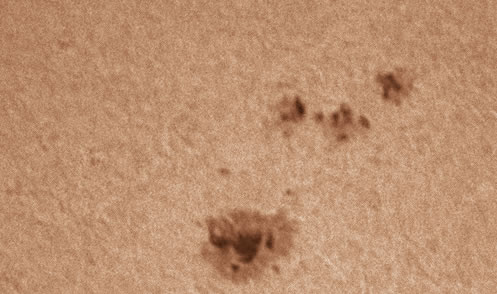
The great thing was that I was able to record granulation on my images, something I could never do with the SPC900 webcam, maybe it’s the Baader Solar Filter paper that made it possible, but I think it was really the DMK21 camera.

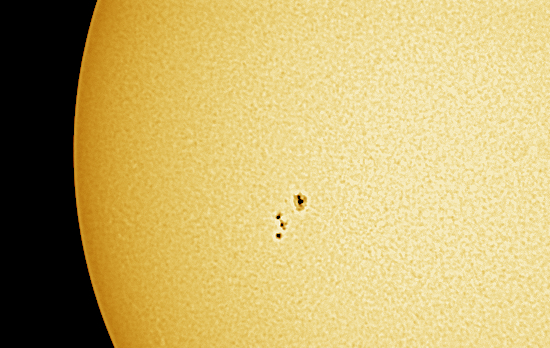
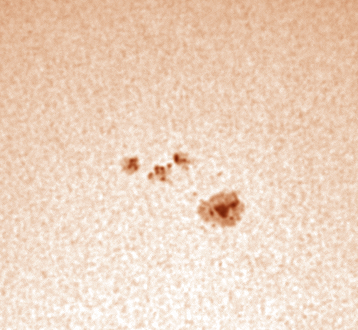
I processed them all in Registax 5 and then added some false colour in Fireworks. The distant image was taken with a Skywatcher ED80 Pro and the close-up shots with my 10″ LX200.

Sunspots via Skywatcher ED80 Pro

Sunspots via DMK21 and 10" LX200

Sunspots on 3rd June 2010 using 10" LX200